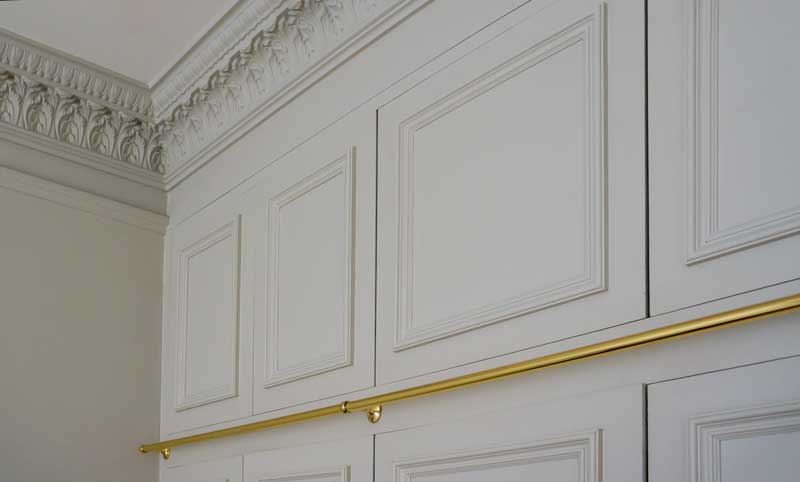


Wall paneling has been used as decoration in homes for several centuries, primarily in the more luxurious parts of the home where many people gathered and where guests were welcomed. In this guide, we will go through step-by-step how to build your own period-appropriate panel, tailored to the room in which it will be installed!
1. Research
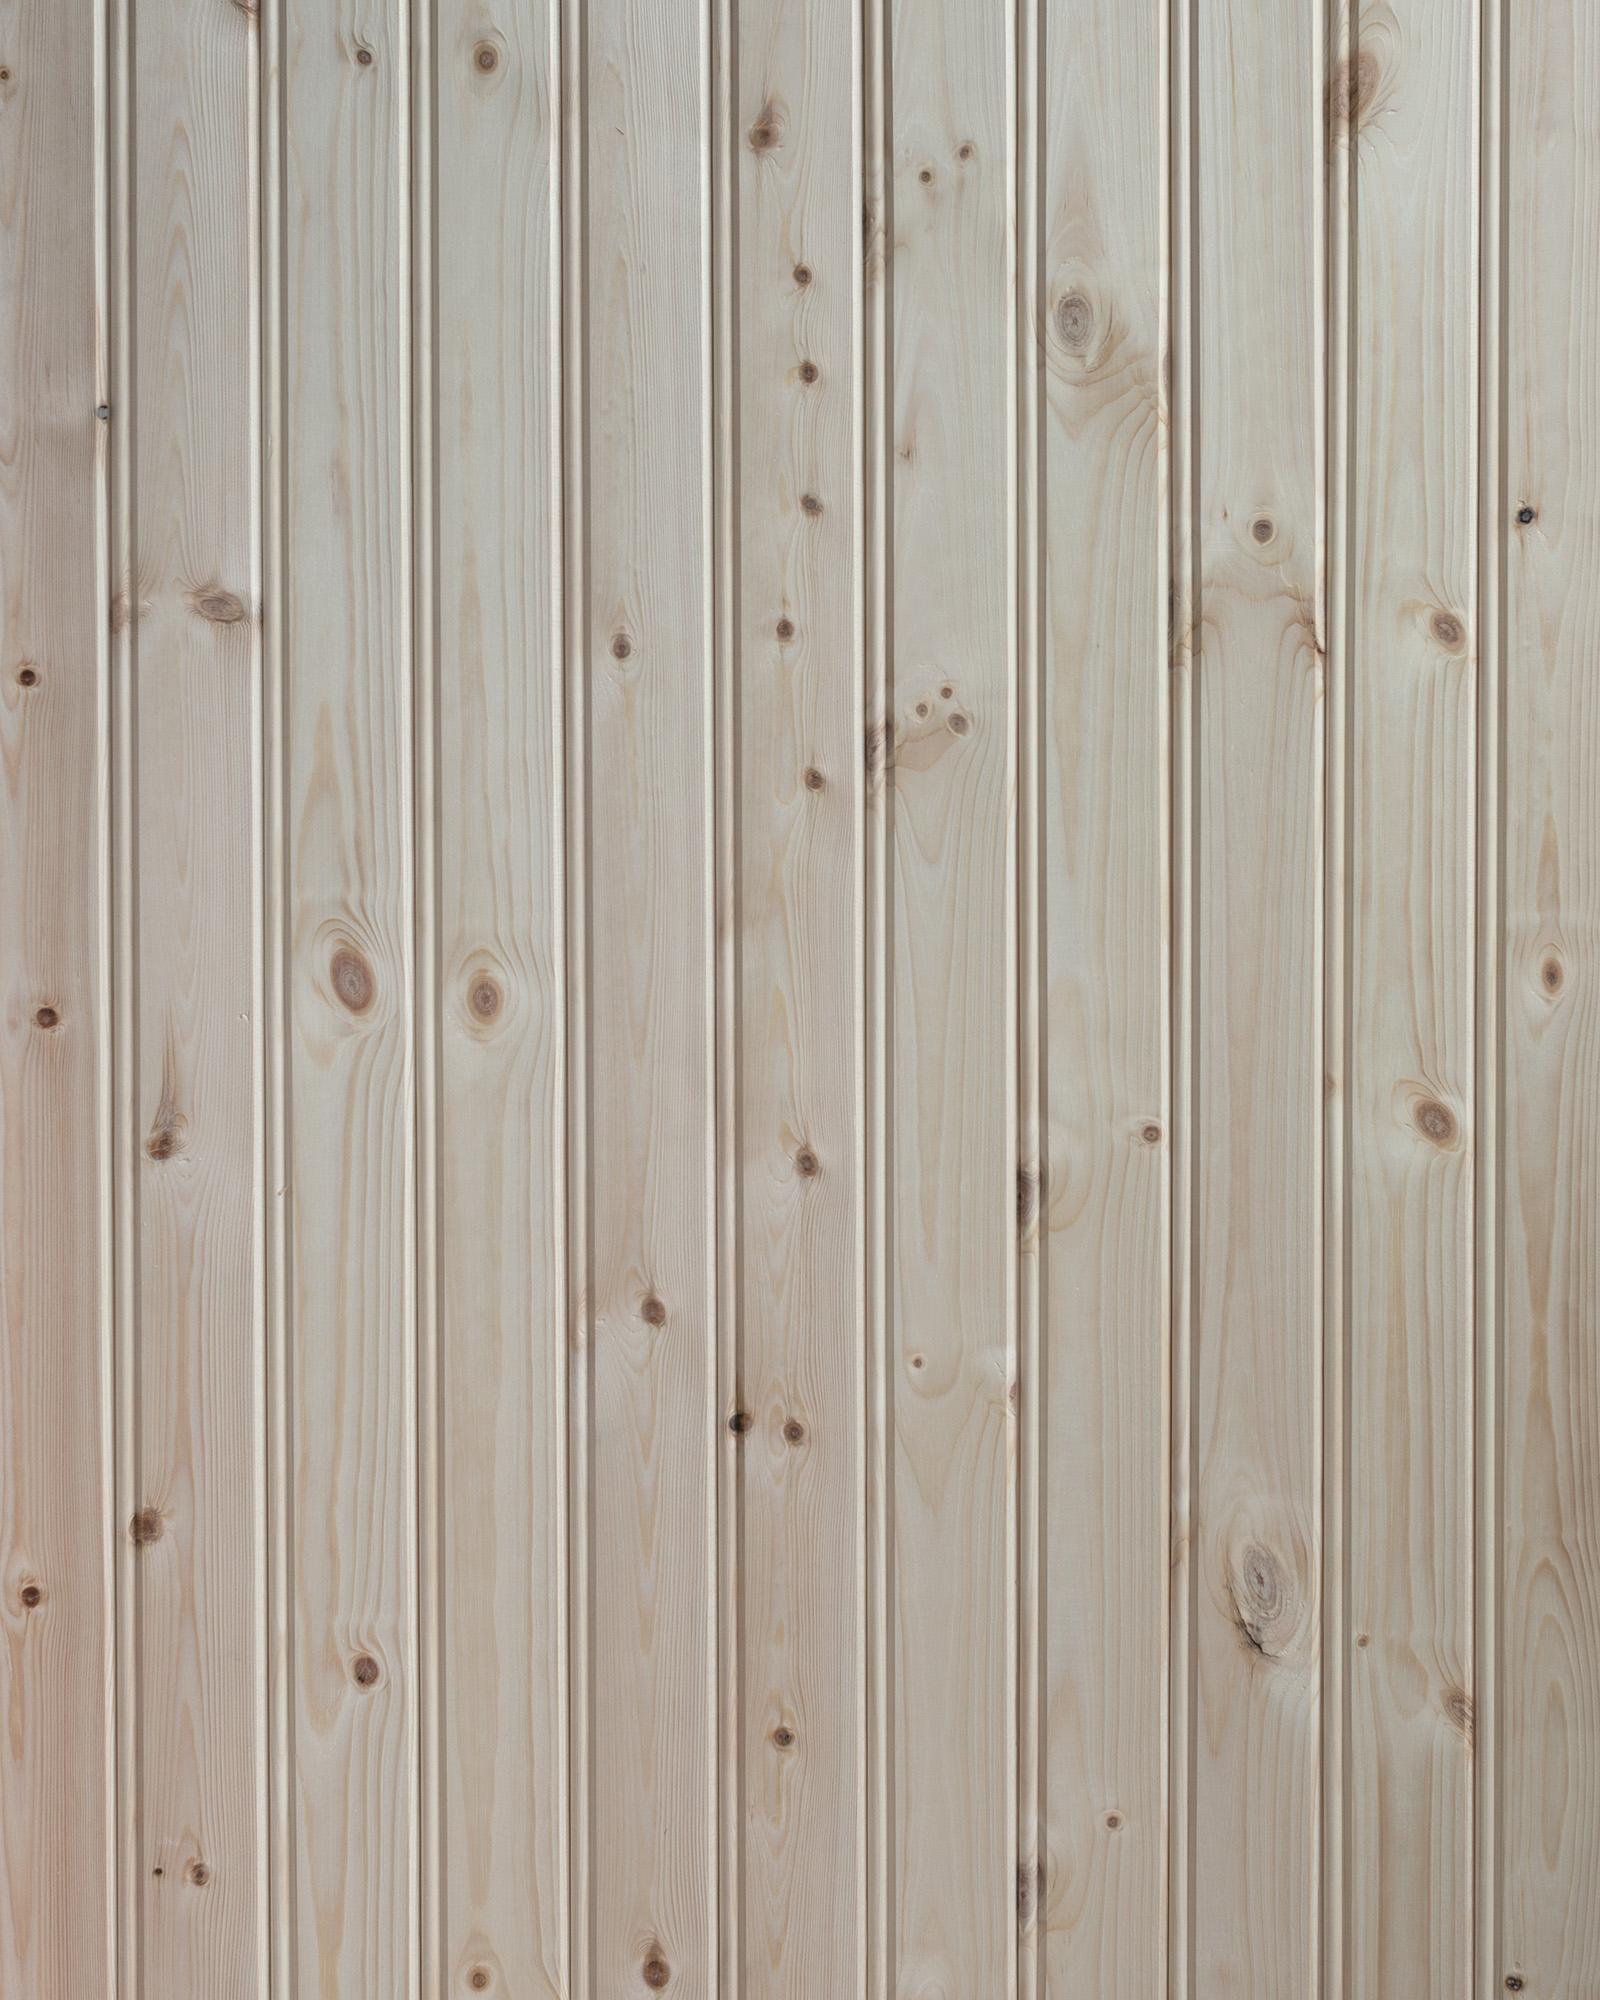
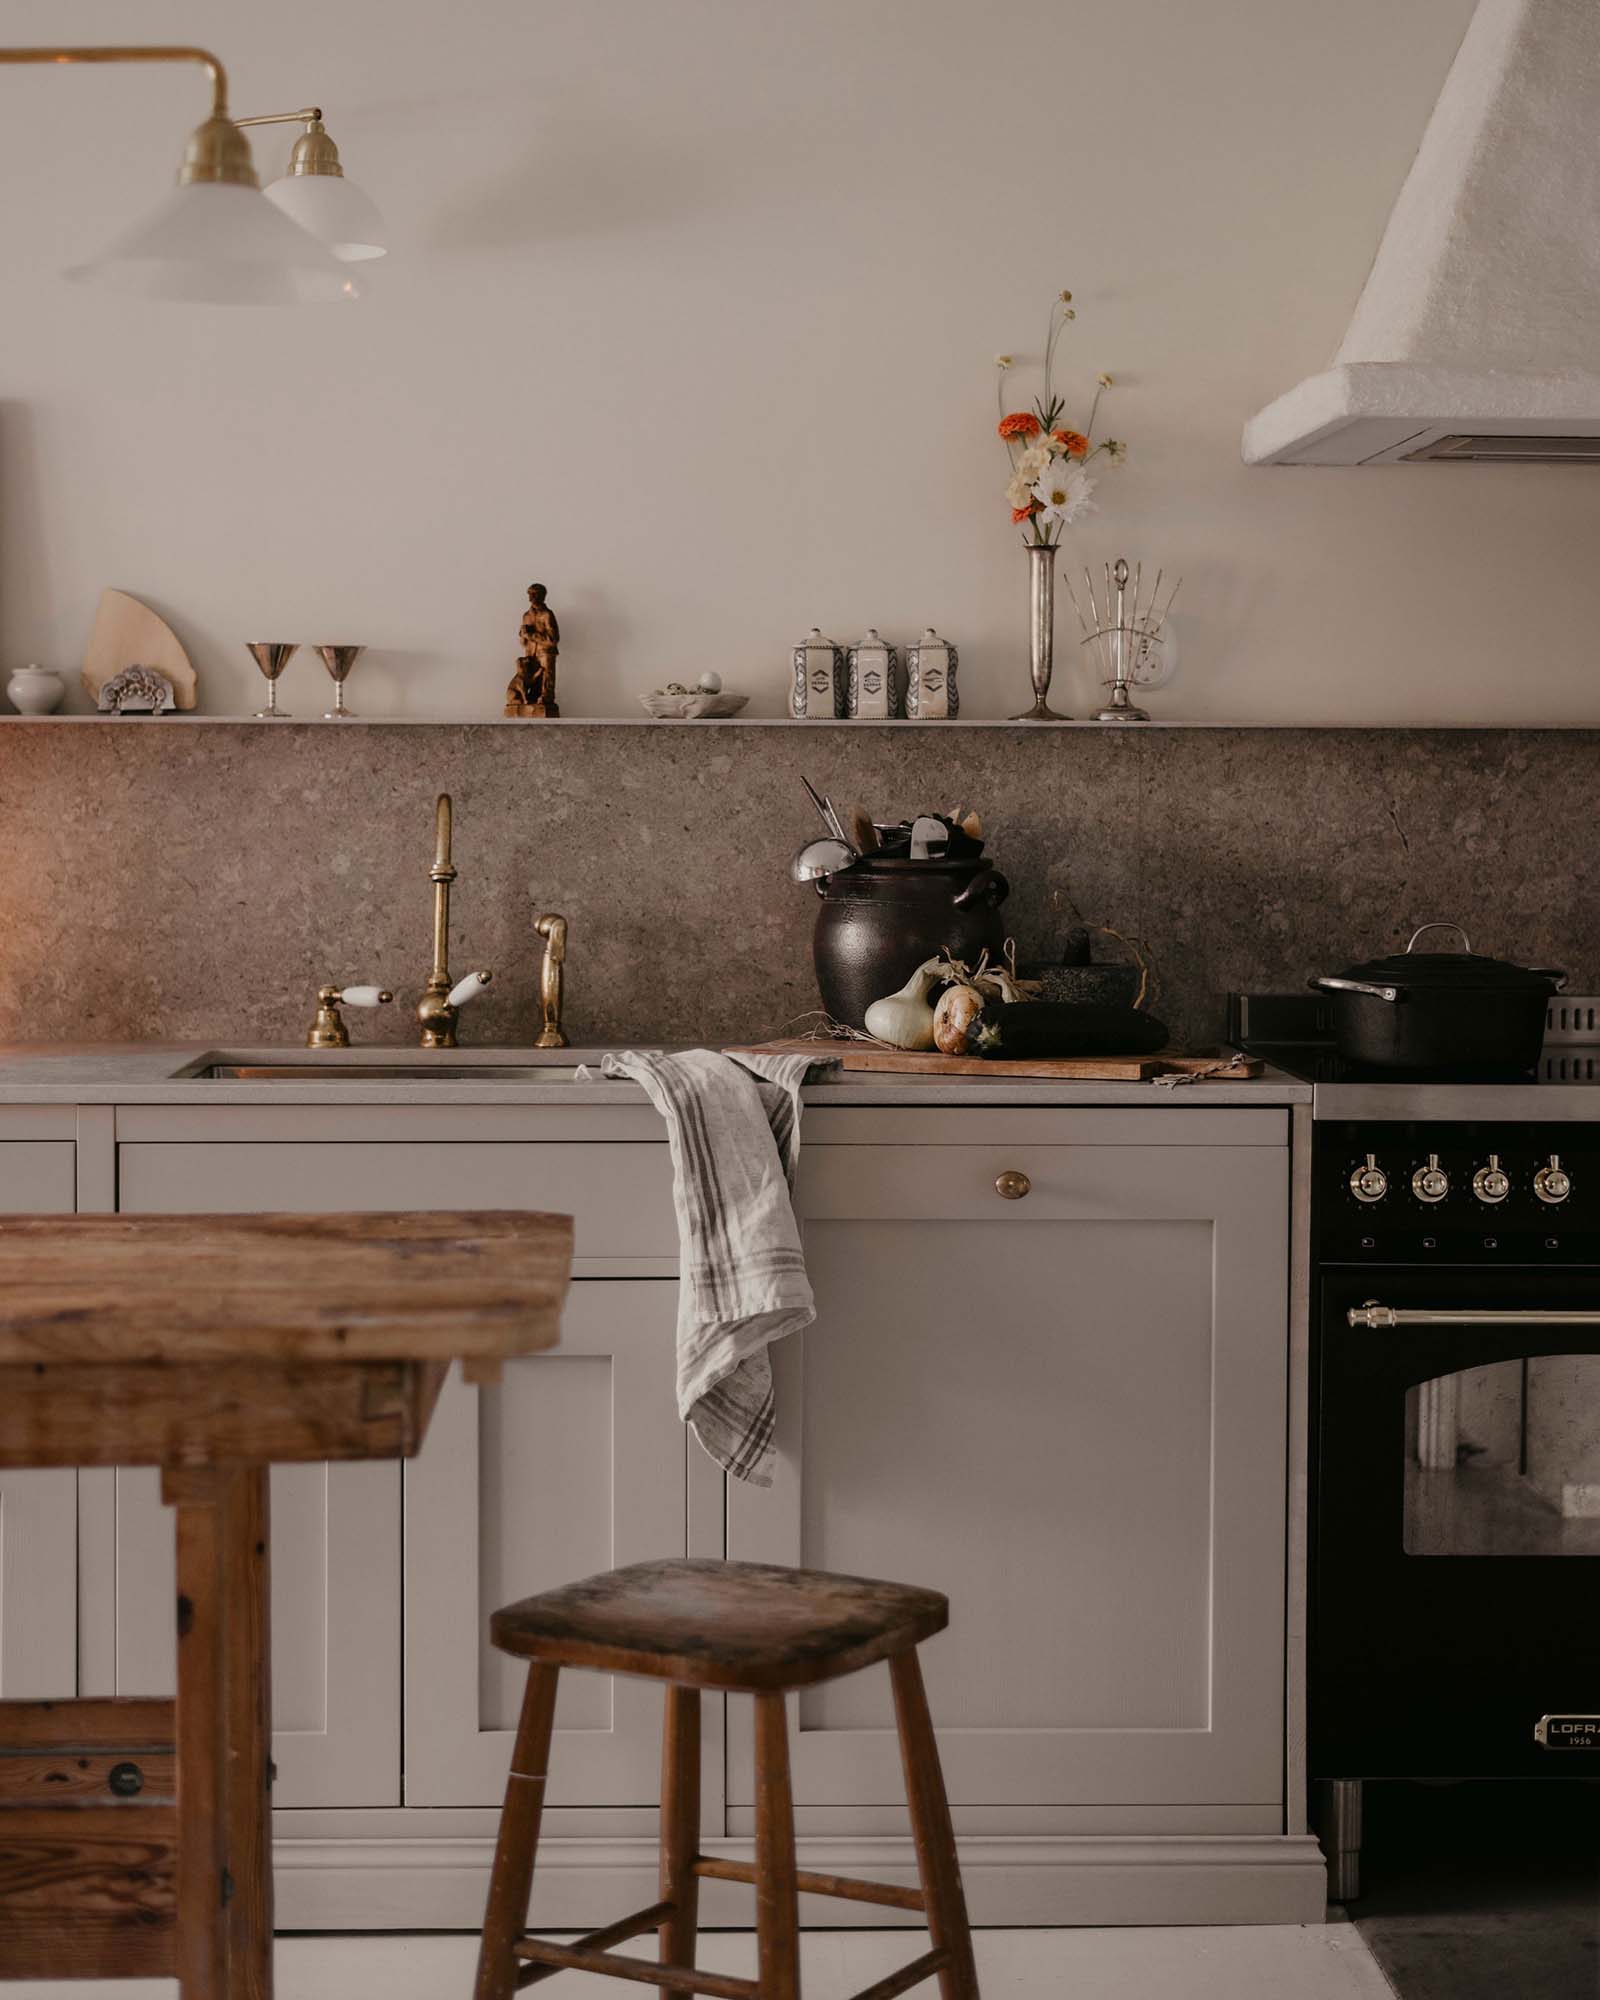
When planning to build your wall panel, there are two aspects to consider: When was your home built? And in which room will the panel be installed? This is crucial for the style and design of your wood paneling. In the last century, the rooms with the most visitors, such as the hallway/entrance, living room, and dining room, received the most decorated woodwork. Bedrooms and kitchens were decorated much more simply; in kitchens, the walls were often clad in beaded paneling for practical reasons.
- 1890s
During this period, panels were used in various heights and designs depending on the room's function. The highest panels with heavily profiled fillings and a narrow shelf for ornaments were placed in the dining room and hallway. The format of the panels varied, but it was not uncommon to mix both square and rectangular shapes. Inspiration can be found here.
- 1900s
Similar to previous decades, the walls of living rooms and dining rooms were clad with panels of varying heights. Often made of oak or painted in oak imitation, the panels were moving towards a lighter color scheme, painted in off-whites or light grays. The design became simpler, with softer profiles, and the panels were usually placed close together and were narrow. Inspiration can be found here.
- 1910s
In lavish environments like living rooms, walls were still adorned with panels, but the trend moved towards lower wainscoting. This type of panel often aligned with the window sill height (about 75-80 cm). The panels were usually rectangular and could be combined in both horizontal and vertical formats, with rounded corners being common. The panel ended with a profiled cornice. Inspiration can be found here.
- 1920s
The previous wainscoting remained in a much simpler form but began to be replaced by lower, narrower baseboards with simple classicist profiles. Inspiration can be found here.
2. Materials
Measure the room carefully to plan the materials needed for your wall panel, taking into account windows, doors, and any special angles. The size of the room will determine the size of the panels. Follow the principle that there should be an equal amount of smooth surface above and below the panel as well as on the sides.
- Start "at the back" with the MDF board, which will be mounted directly on the wall. These should be cut to size with minimal waste. Purchase the exact number of meters that match the perimeter of the room (excluding windows and doors).
- Next comes the planed wood, which will form the framework and structure of the panel. Depending on how many panels you plan for your wainscoting, it might be wise to add about 10% for waste. You'll need material for both horizontal and vertical pieces.
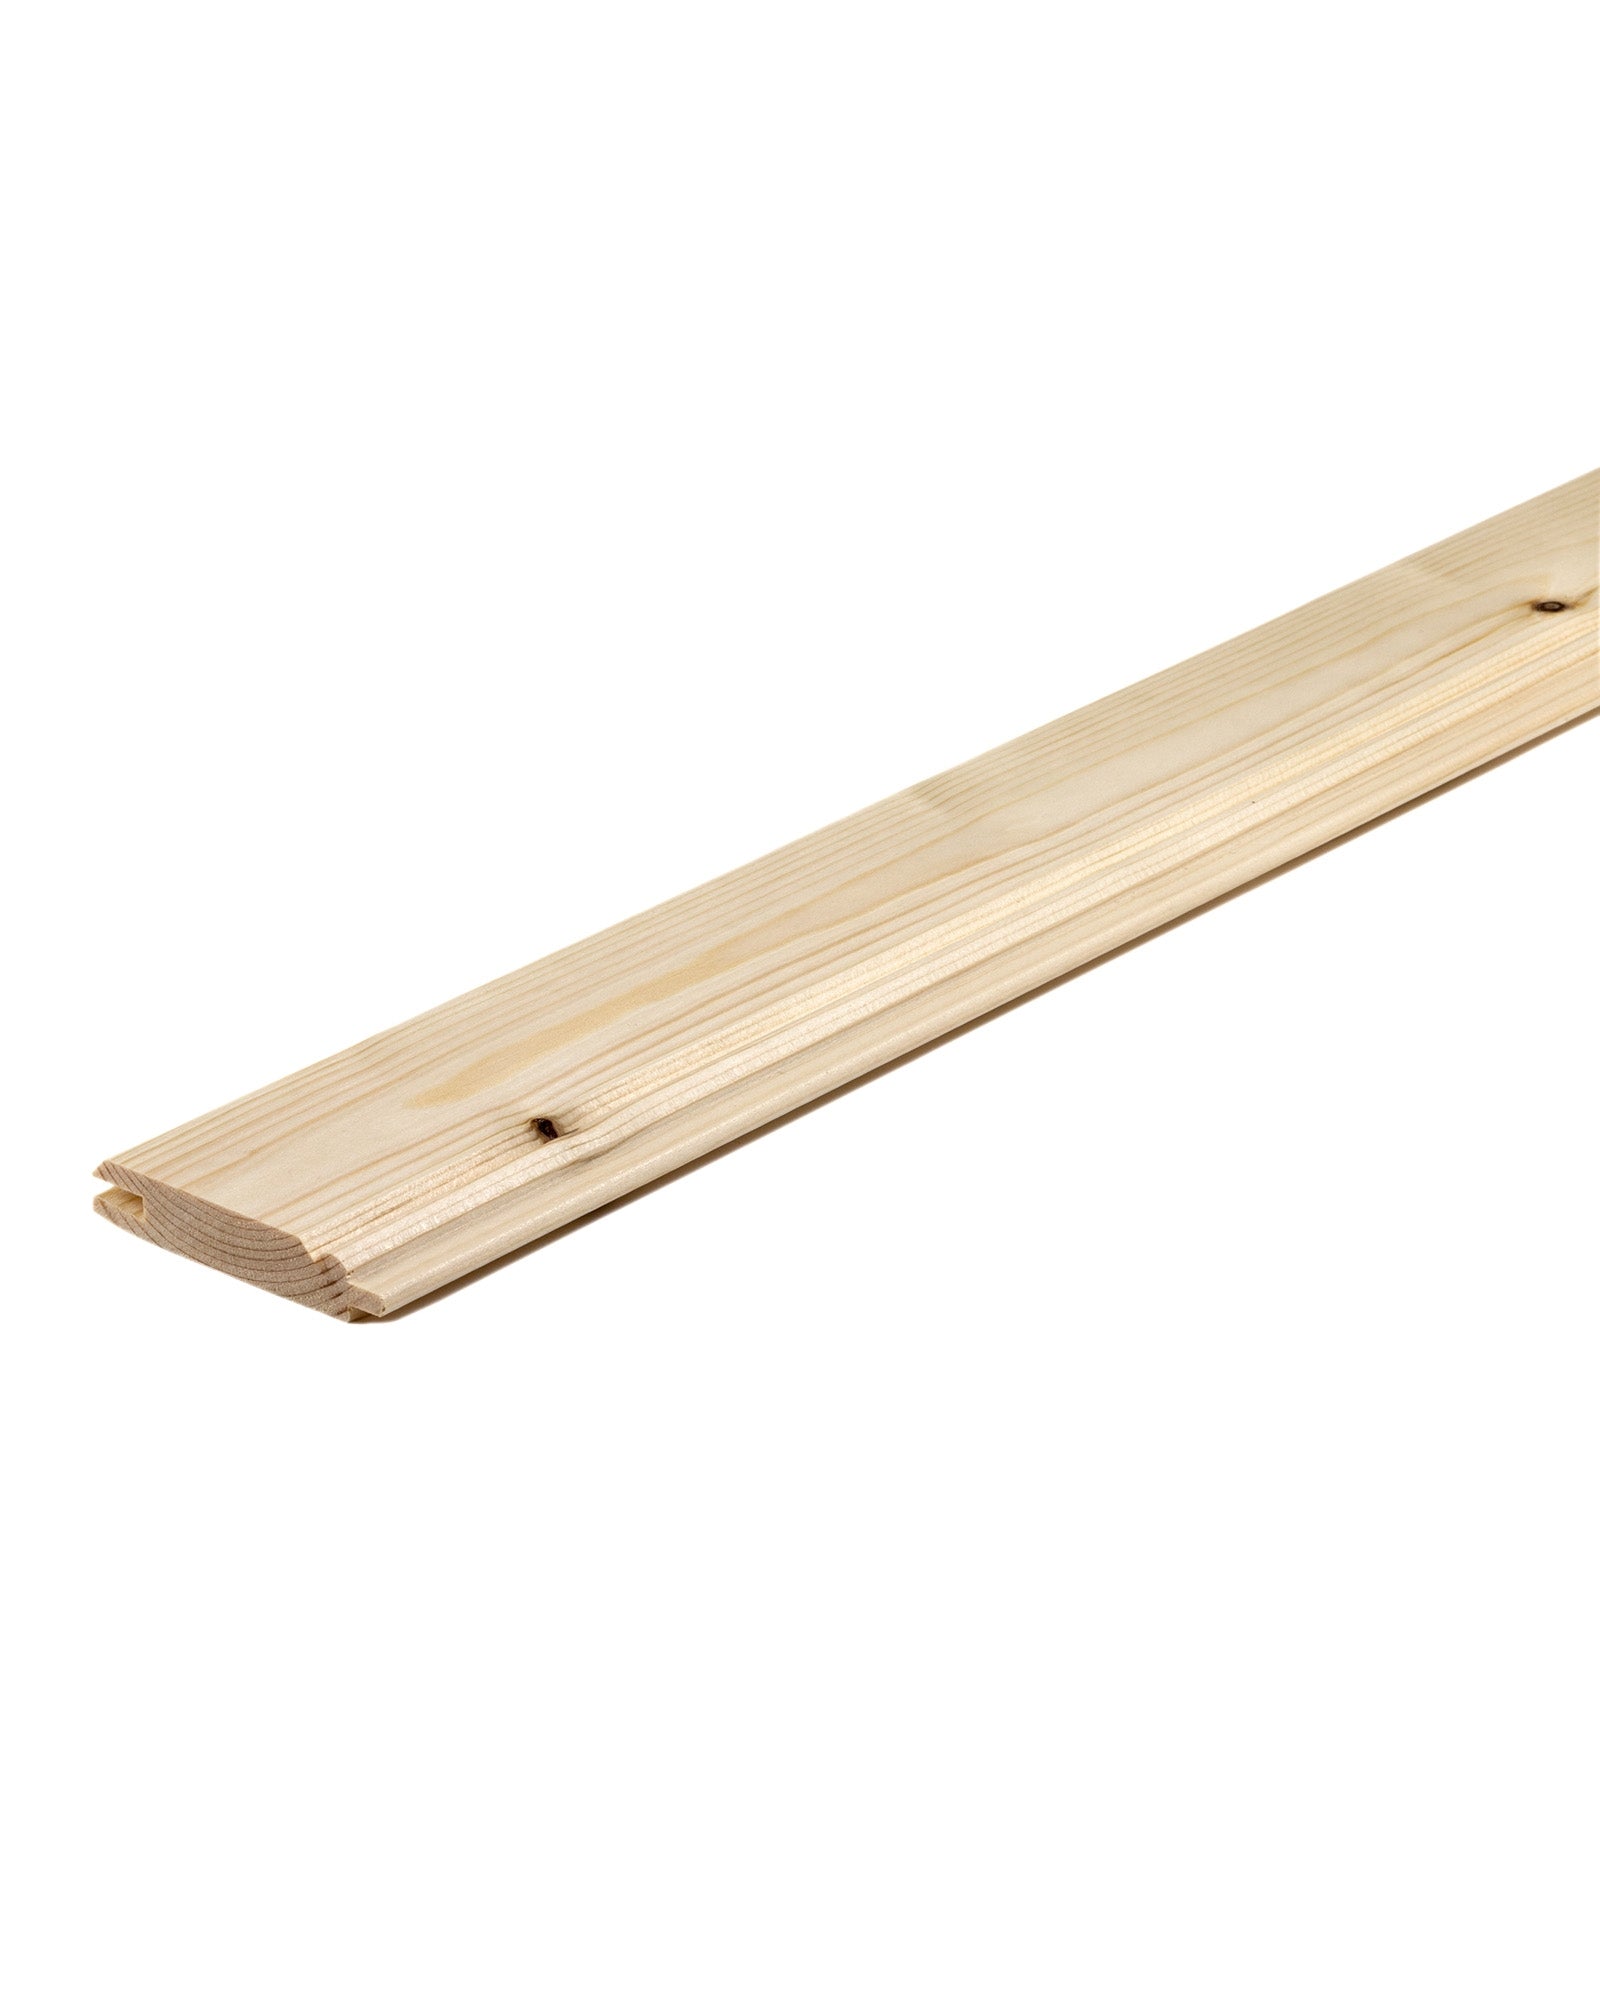
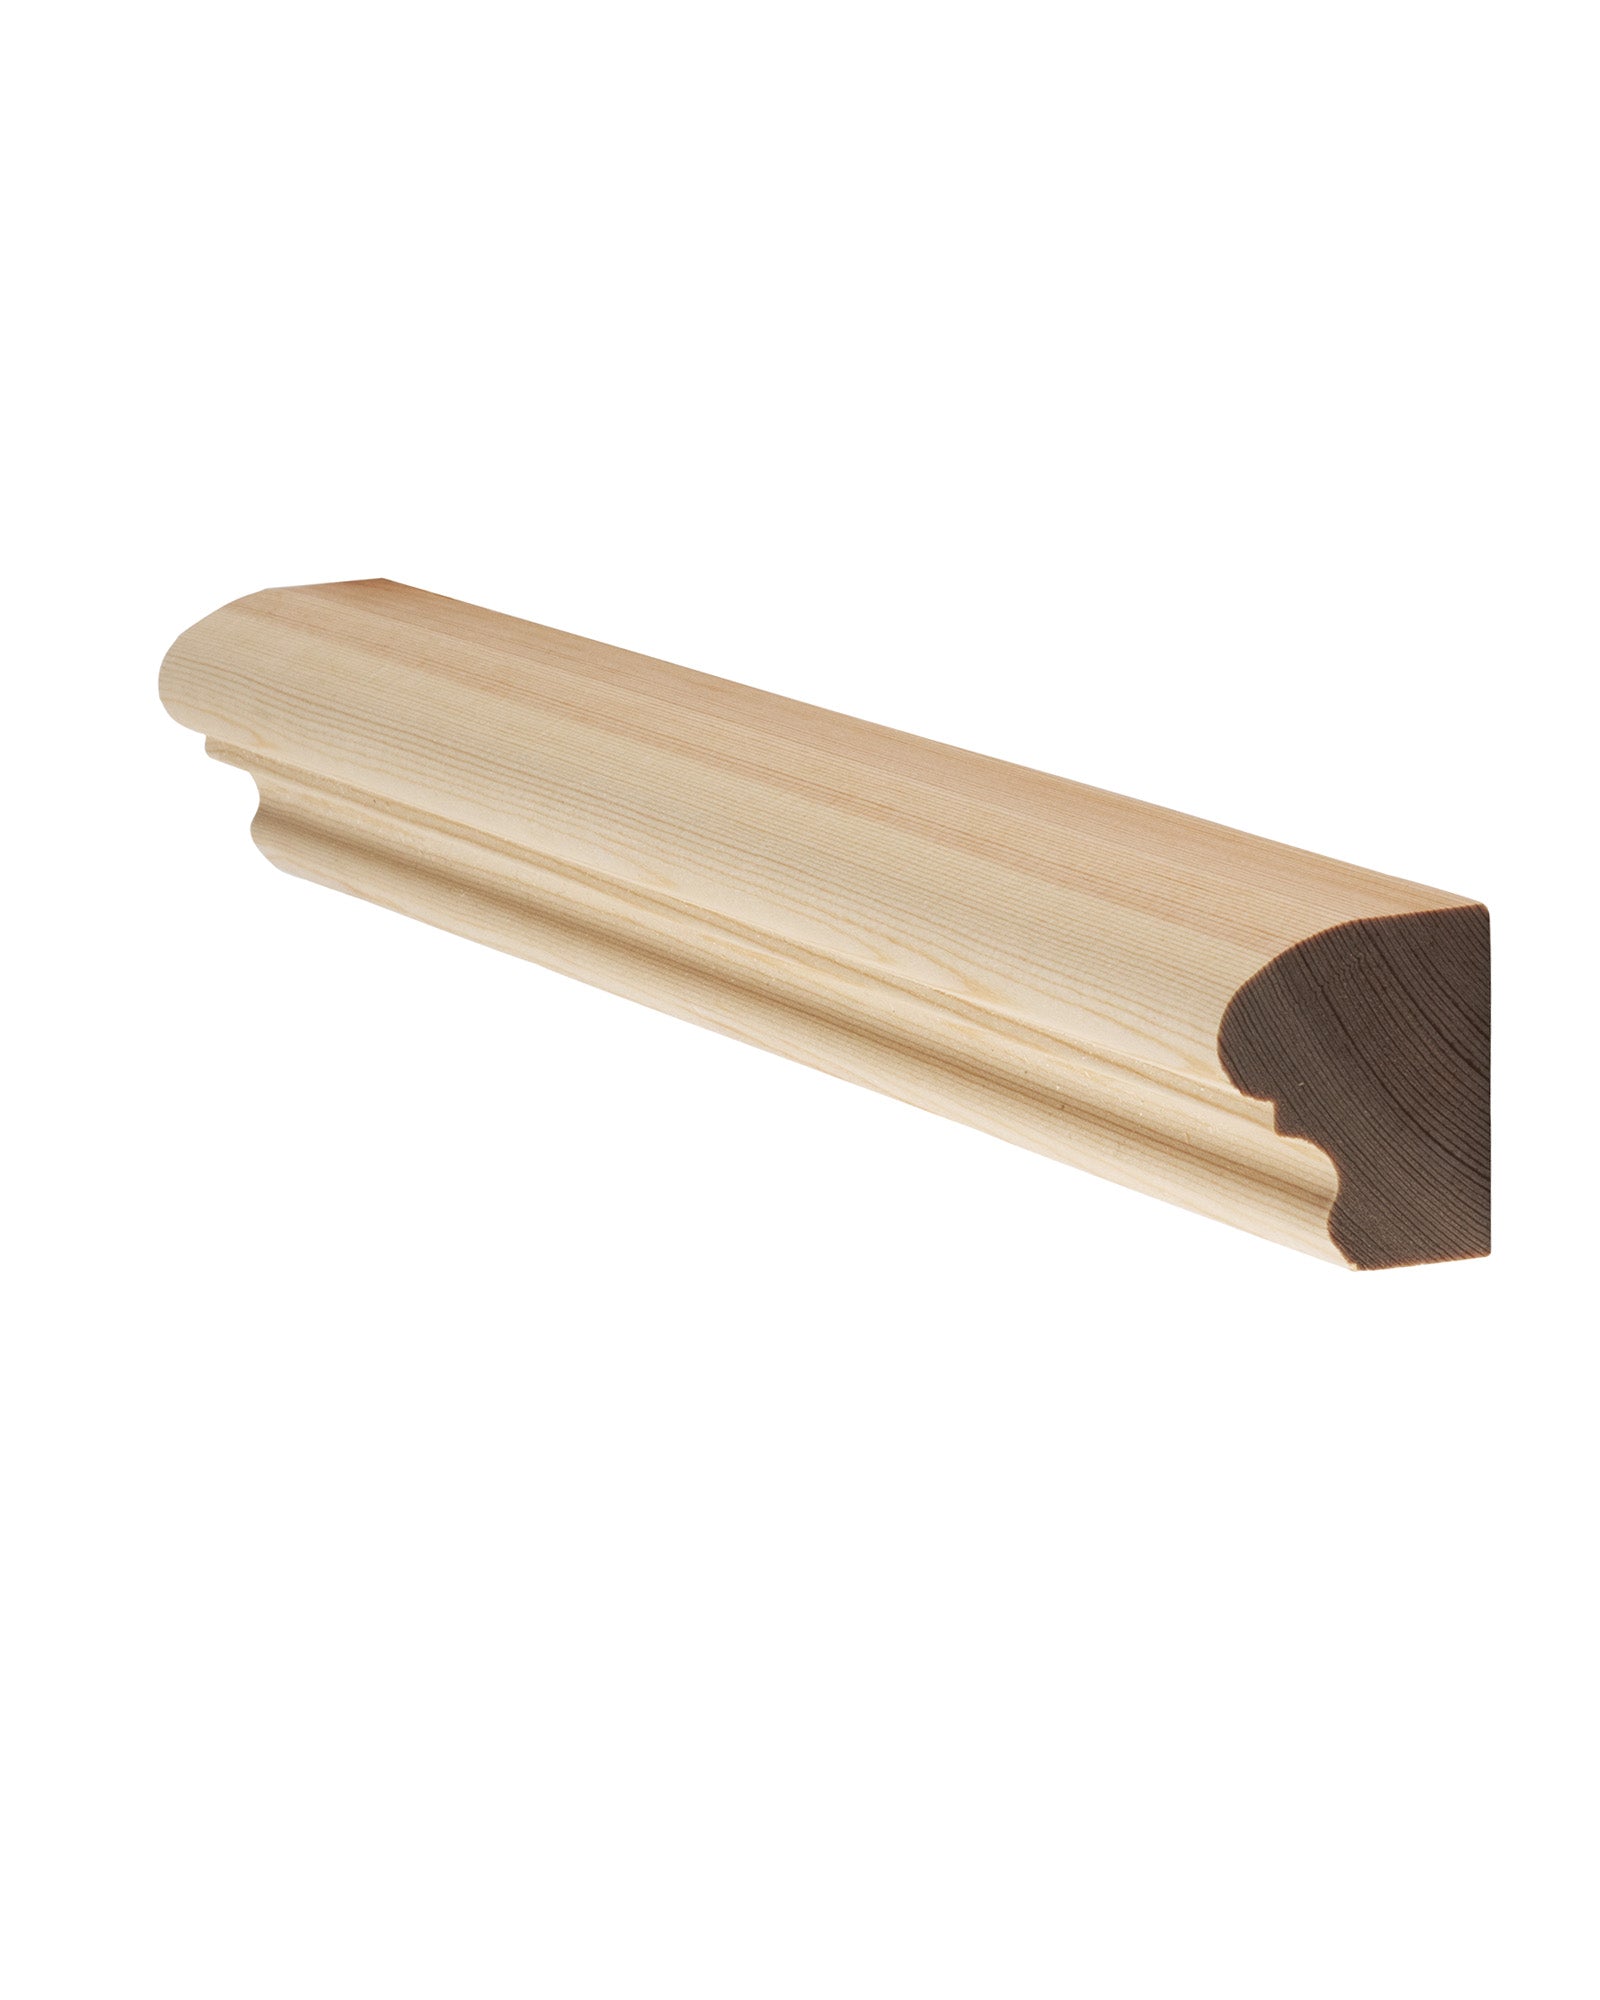
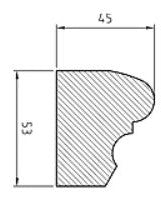
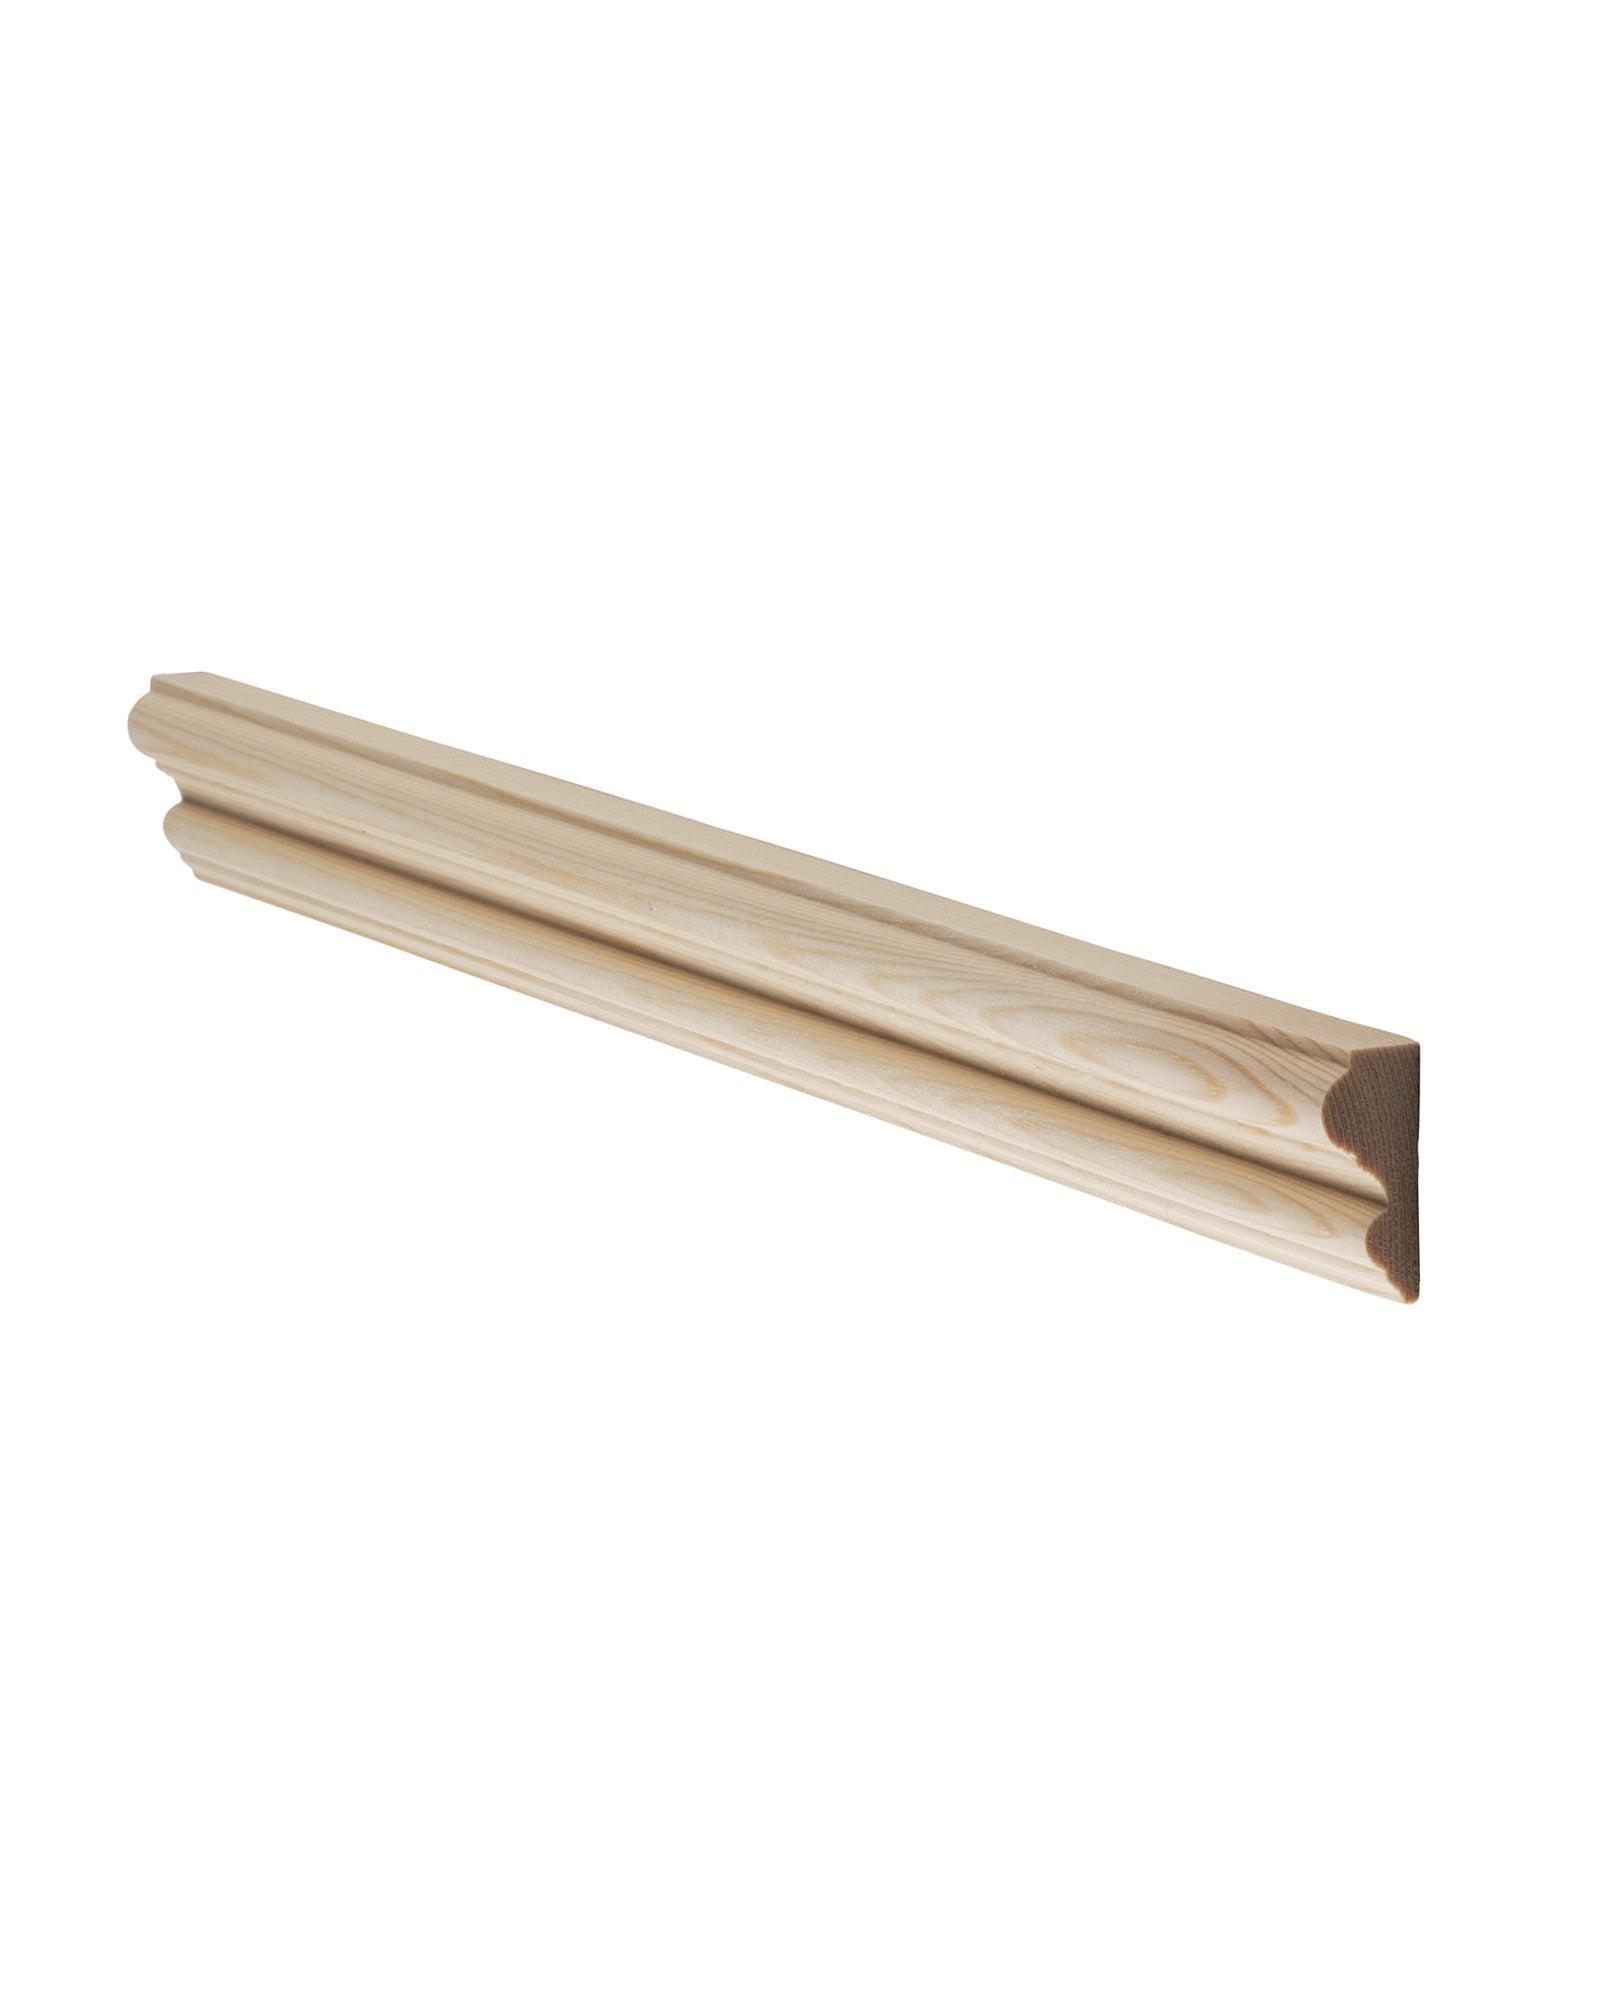
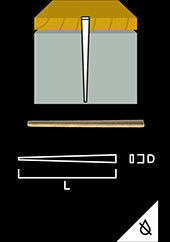
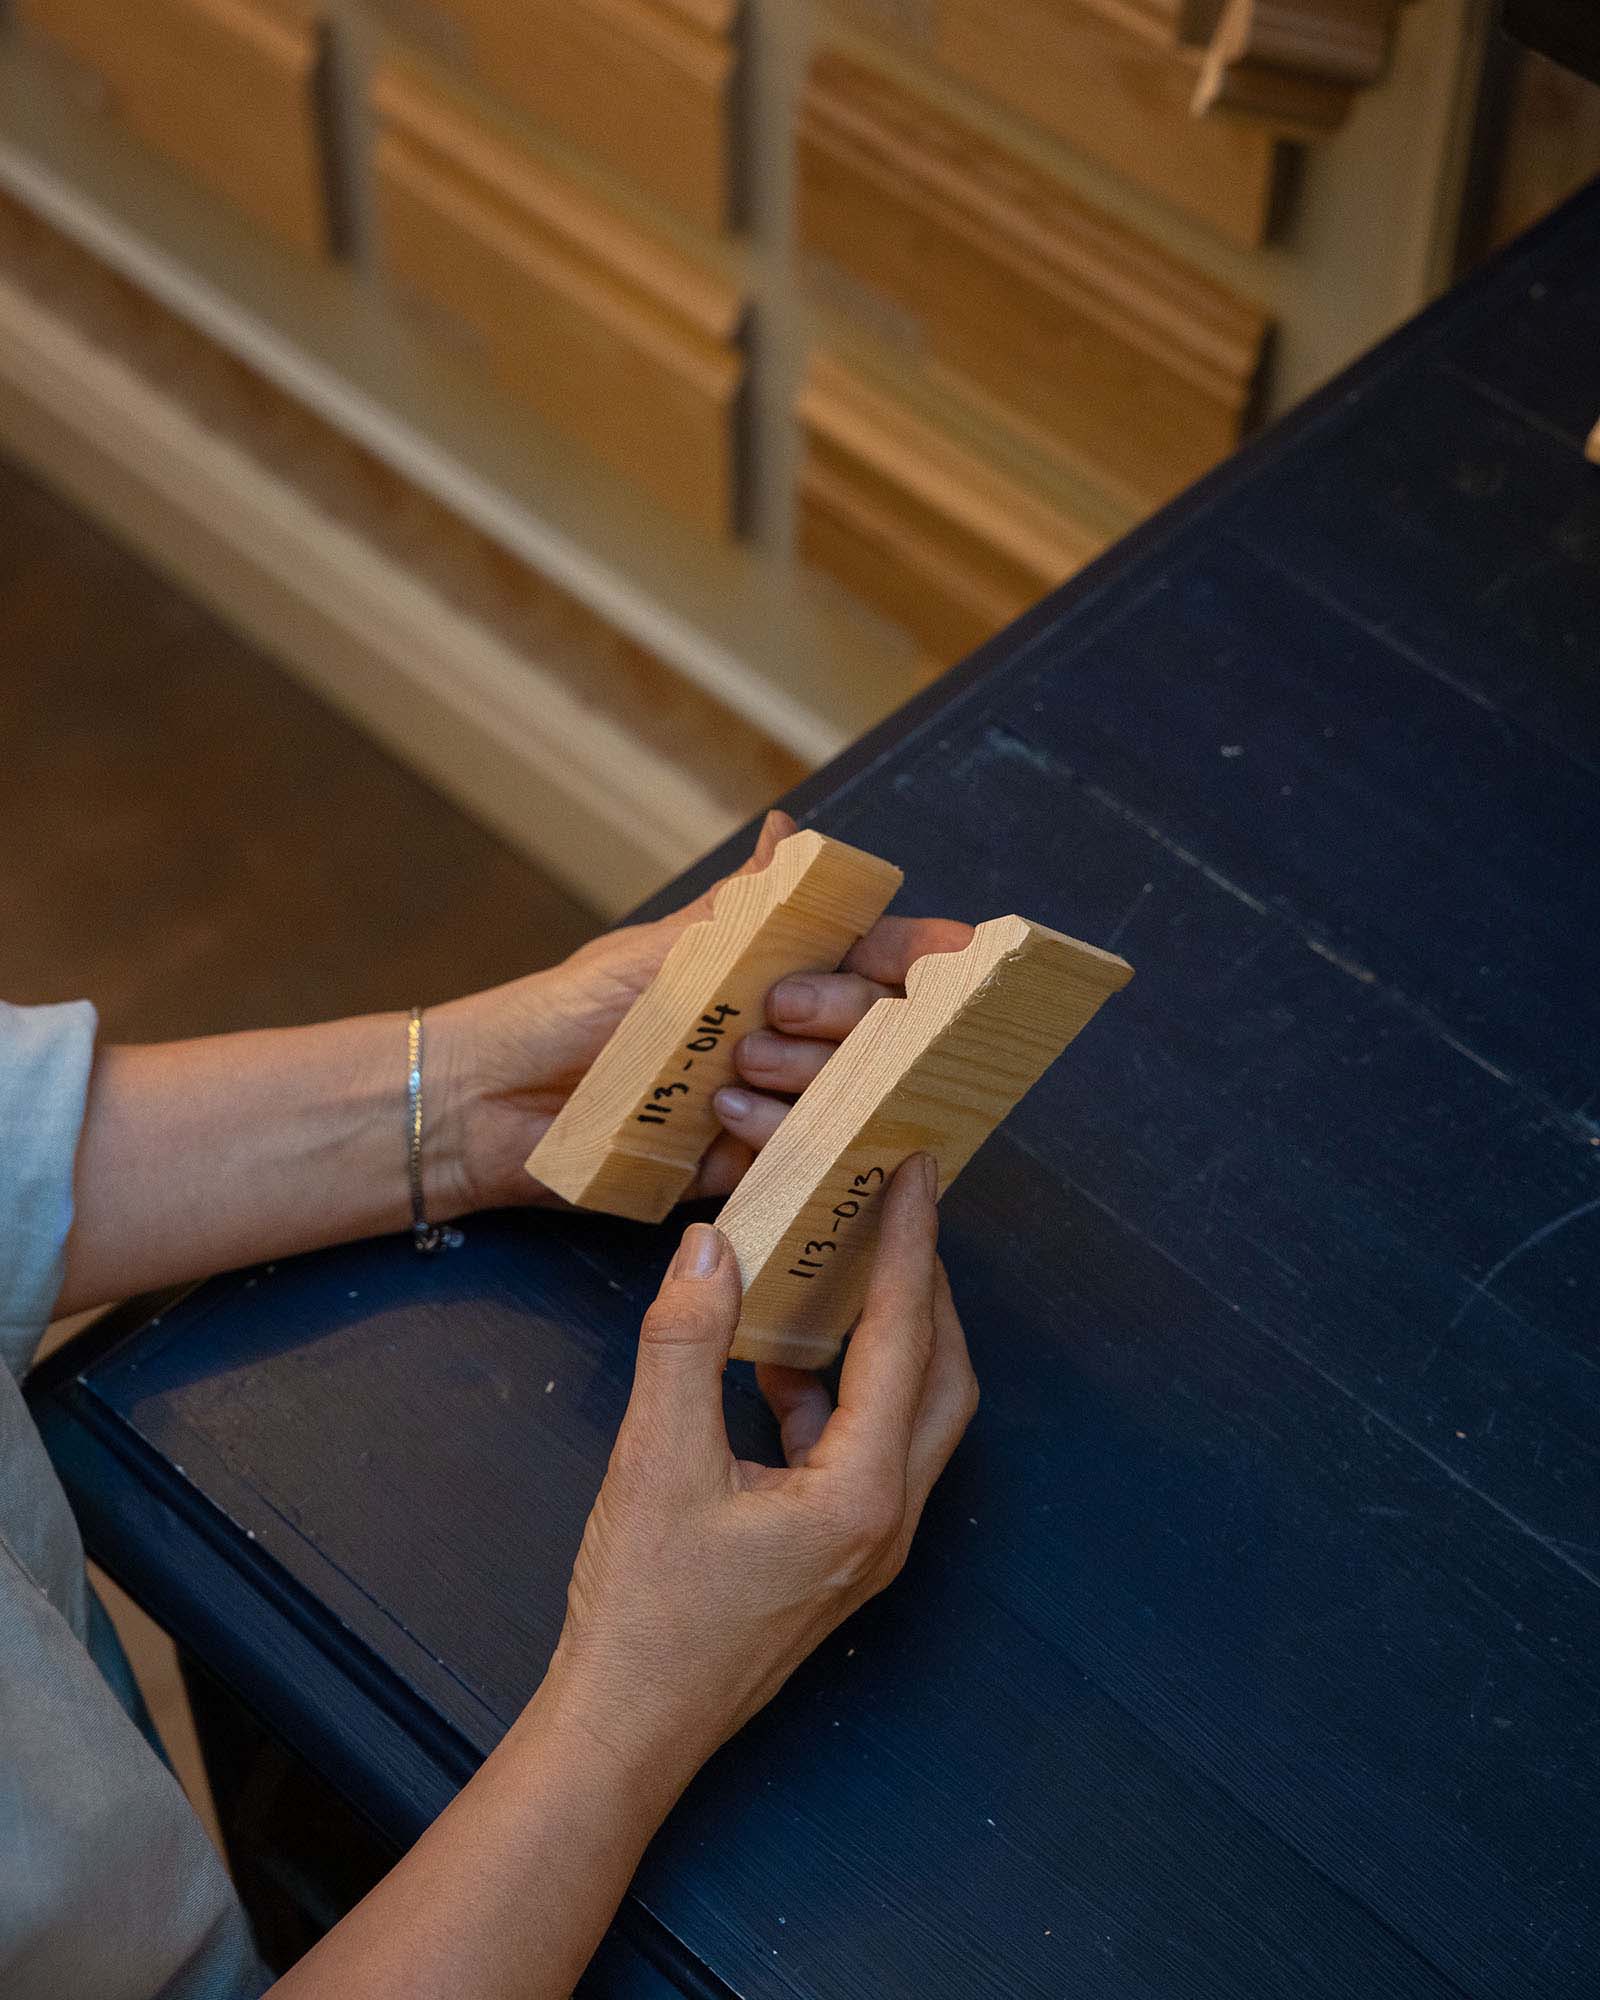
- Finally, we have the profiled moldings. The amount of baseboard and cornice molding will be similar to the MDF, based on the room's perimeter. Add extra wood (about 10%) for corner cuts. Decorative moldings for the panels usually require more material than anticipated due to many cuts that might go wrong. Here, we recommend adding about 25% for waste.
3. Installation
Start by removing the existing baseboard and ensuring you have a clean wall surface to work with.
- The MDF is mounted flush against the wall, forming the base for your panel. We recommend using construction adhesive to attach the board material and then screw or nail it to the wall depending on the wall material.
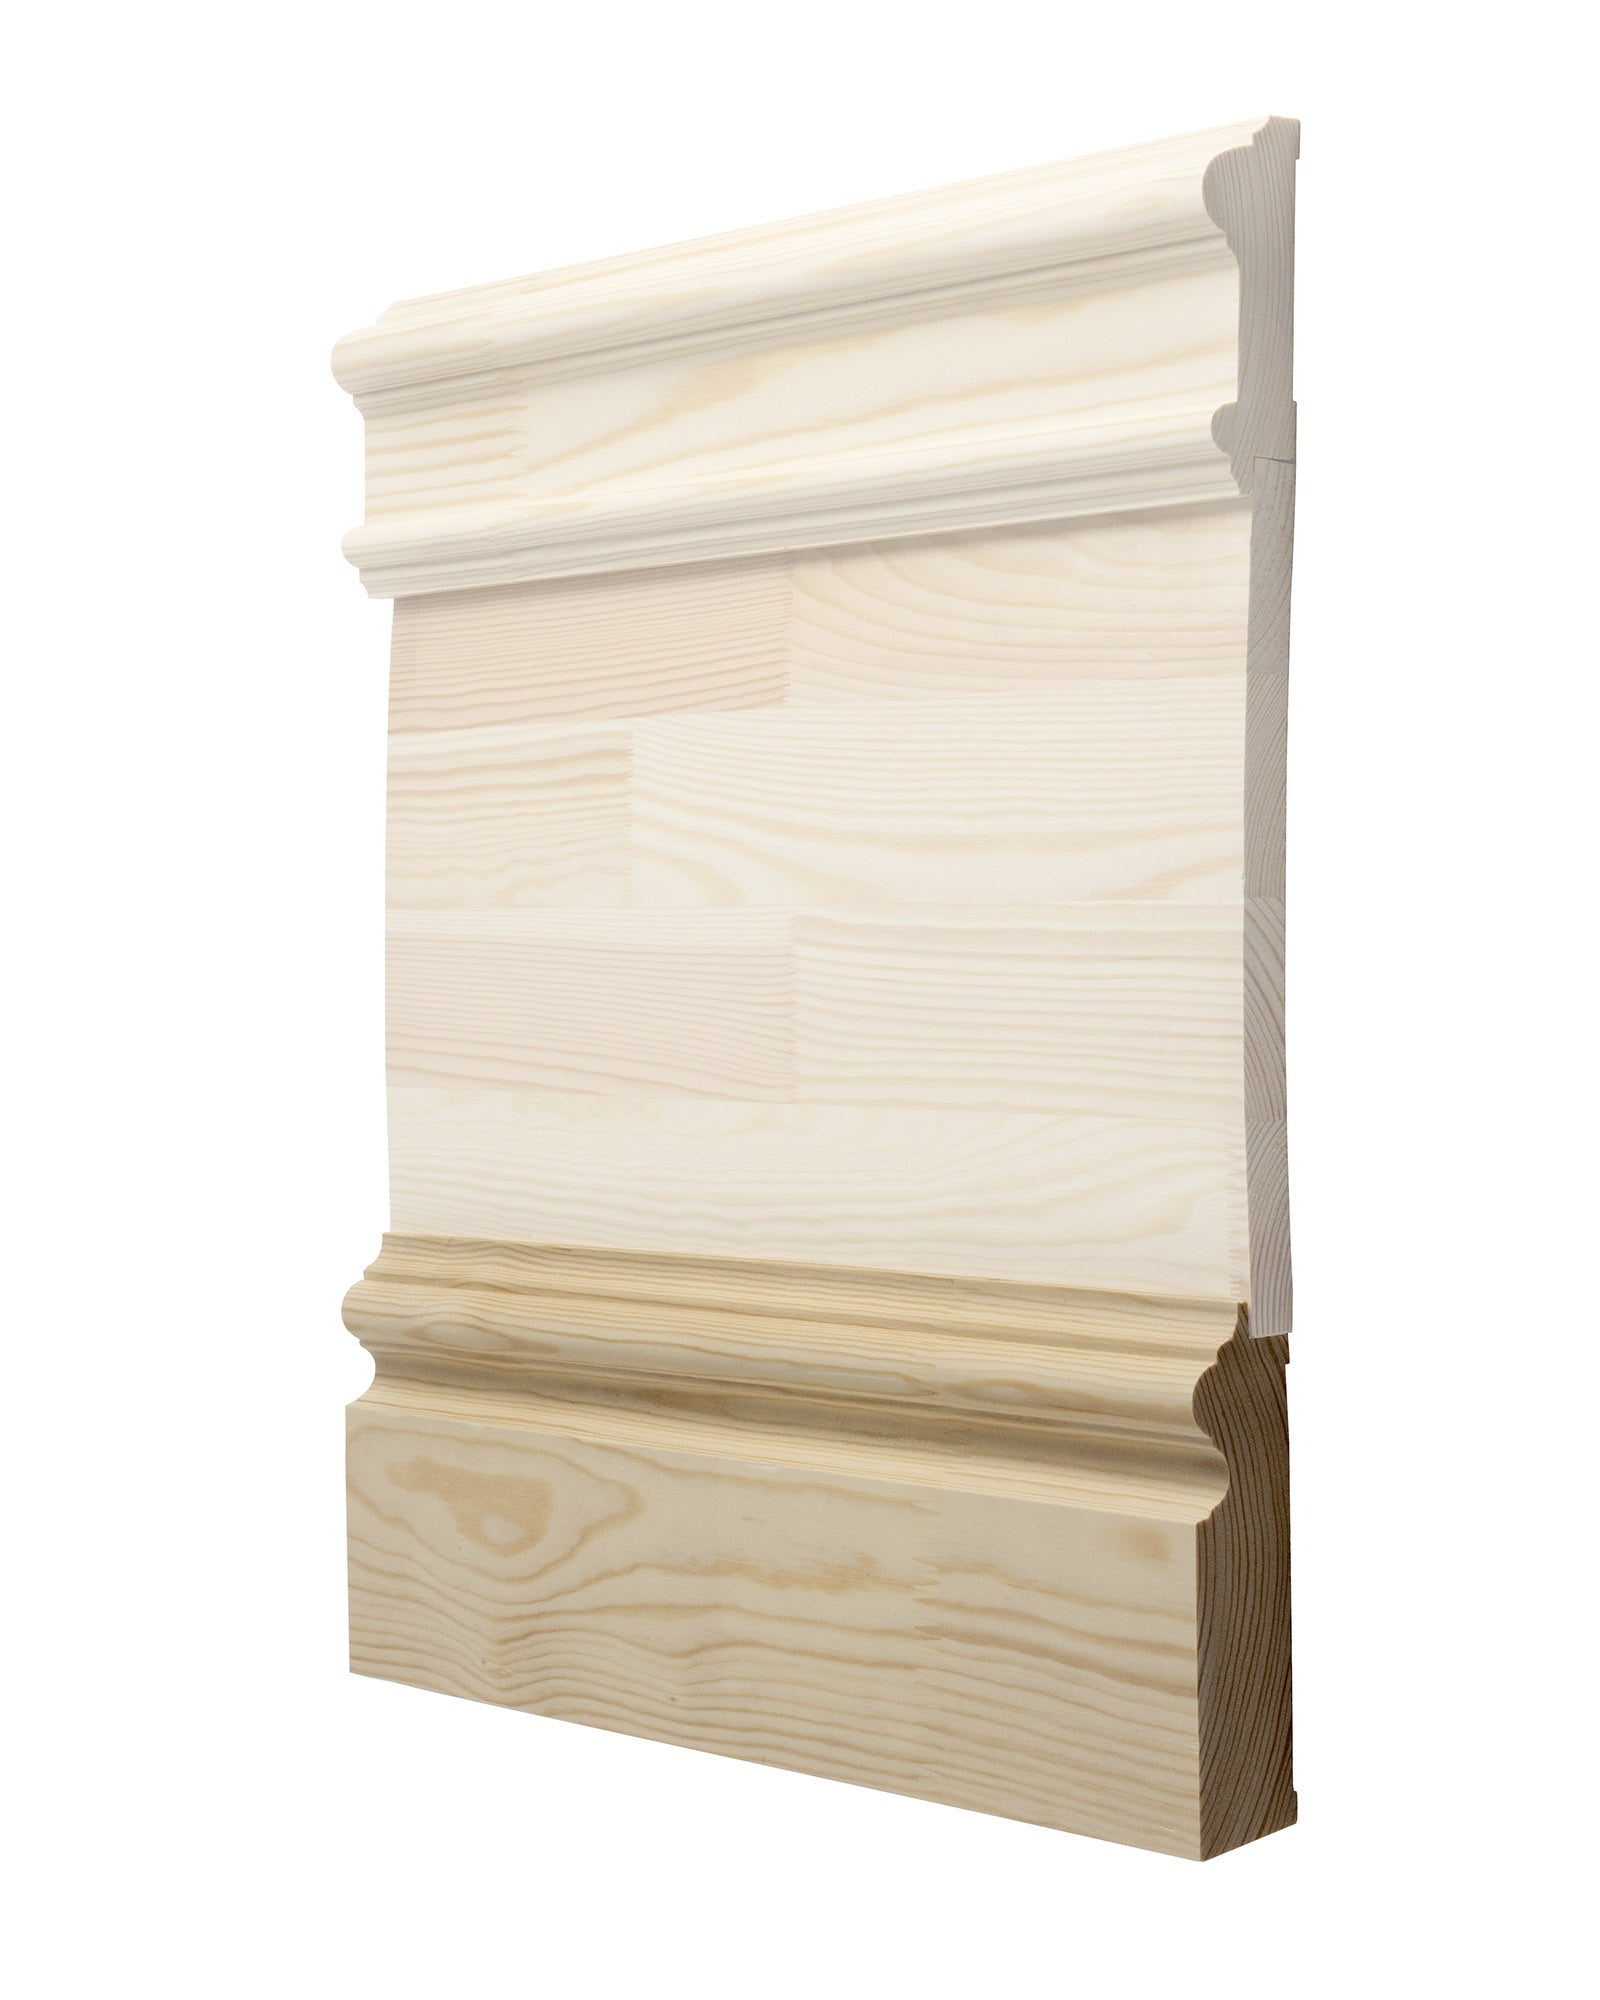
- Now you have a smooth surface and can install the baseboard. We chose a three-piece variant, but this is optional. Just make sure the top of the baseboard is wide enough to secure planed wood above without an overhang. The cornice molding is mounted along the top edge of the MDF. Now you have a good foundation with a base, a bottom, and a top. Use wood glue and finishing nails to secure these. Note: If you use a three-piece baseboard, attach only the bottom baseboard and the cornice molding. The middle board needs to be able to move a little, so it is held in place by the other moldings.
- The next step is to install the planed wood moldings, which will form the actual framework of your panel. These are meant to make the panels/fillings "sink into" the panel. Start by installing the horizontal pieces, the molding closest to the baseboard and then the molding closest to the cornice molding. After that, install the vertical pieces. This is a great time to fine-tune the measurements of the panels so they fit evenly throughout the room. Here, we recommend using wood glue reinforced with finishing nails.
- After adjusting and double-checking all the framework measurements, it's time to start cutting the decorative moldings. You'll need two short sides and two long sides per panel, with each end cut at 45 degrees. Once all moldings are cut, attach them to the panels with wood glue and finishing nails. Use a nail set to avoid damaging the delicate profile of the decorative molding.
4. Preparation & Finish
Your wall panel is now complete! Now it's time for the finishing touches.
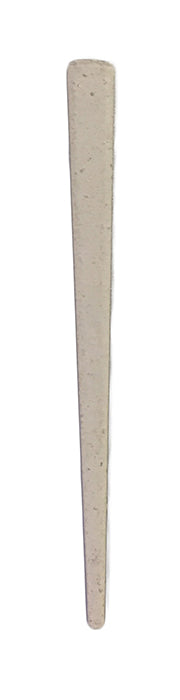
- Begin by filling all the joints in the framework, the corners of the panels, and over the small nail heads with wood filler.
- If your wood has knots, we recommend treating them with shellac.
- Once the shellac has dried, it's time to prime your panel. This is an important step to achieve a smooth surface, as different types of materials have been used. If you want to paint your panel with linseed oil paint, we recommend white primer.
- Finally, paint your panel with the desired topcoat. Usually, two layers are sufficient. Read more about period-appropriate color schemes here and choose from our wide range of linseed oil paints.
Consider This!
The paneling will likely protrude more than your window and door trim. We recommend finishing the paneling just before the trim for a clean finish.
You will need:
- MDF
- Planed wood
- Decorative moldings
- Cornice molding
- Baseboard
- Miter saw
- Measuring tape
- Level or laser measure
- Screwdriver
- Hammer
- Screws/nails
- Nail set
- Wood glue
- Construction adhesive
- Wood filler
- Putty knife
- Sandpaper
- Shellac
- Primer
- Topcoat paint