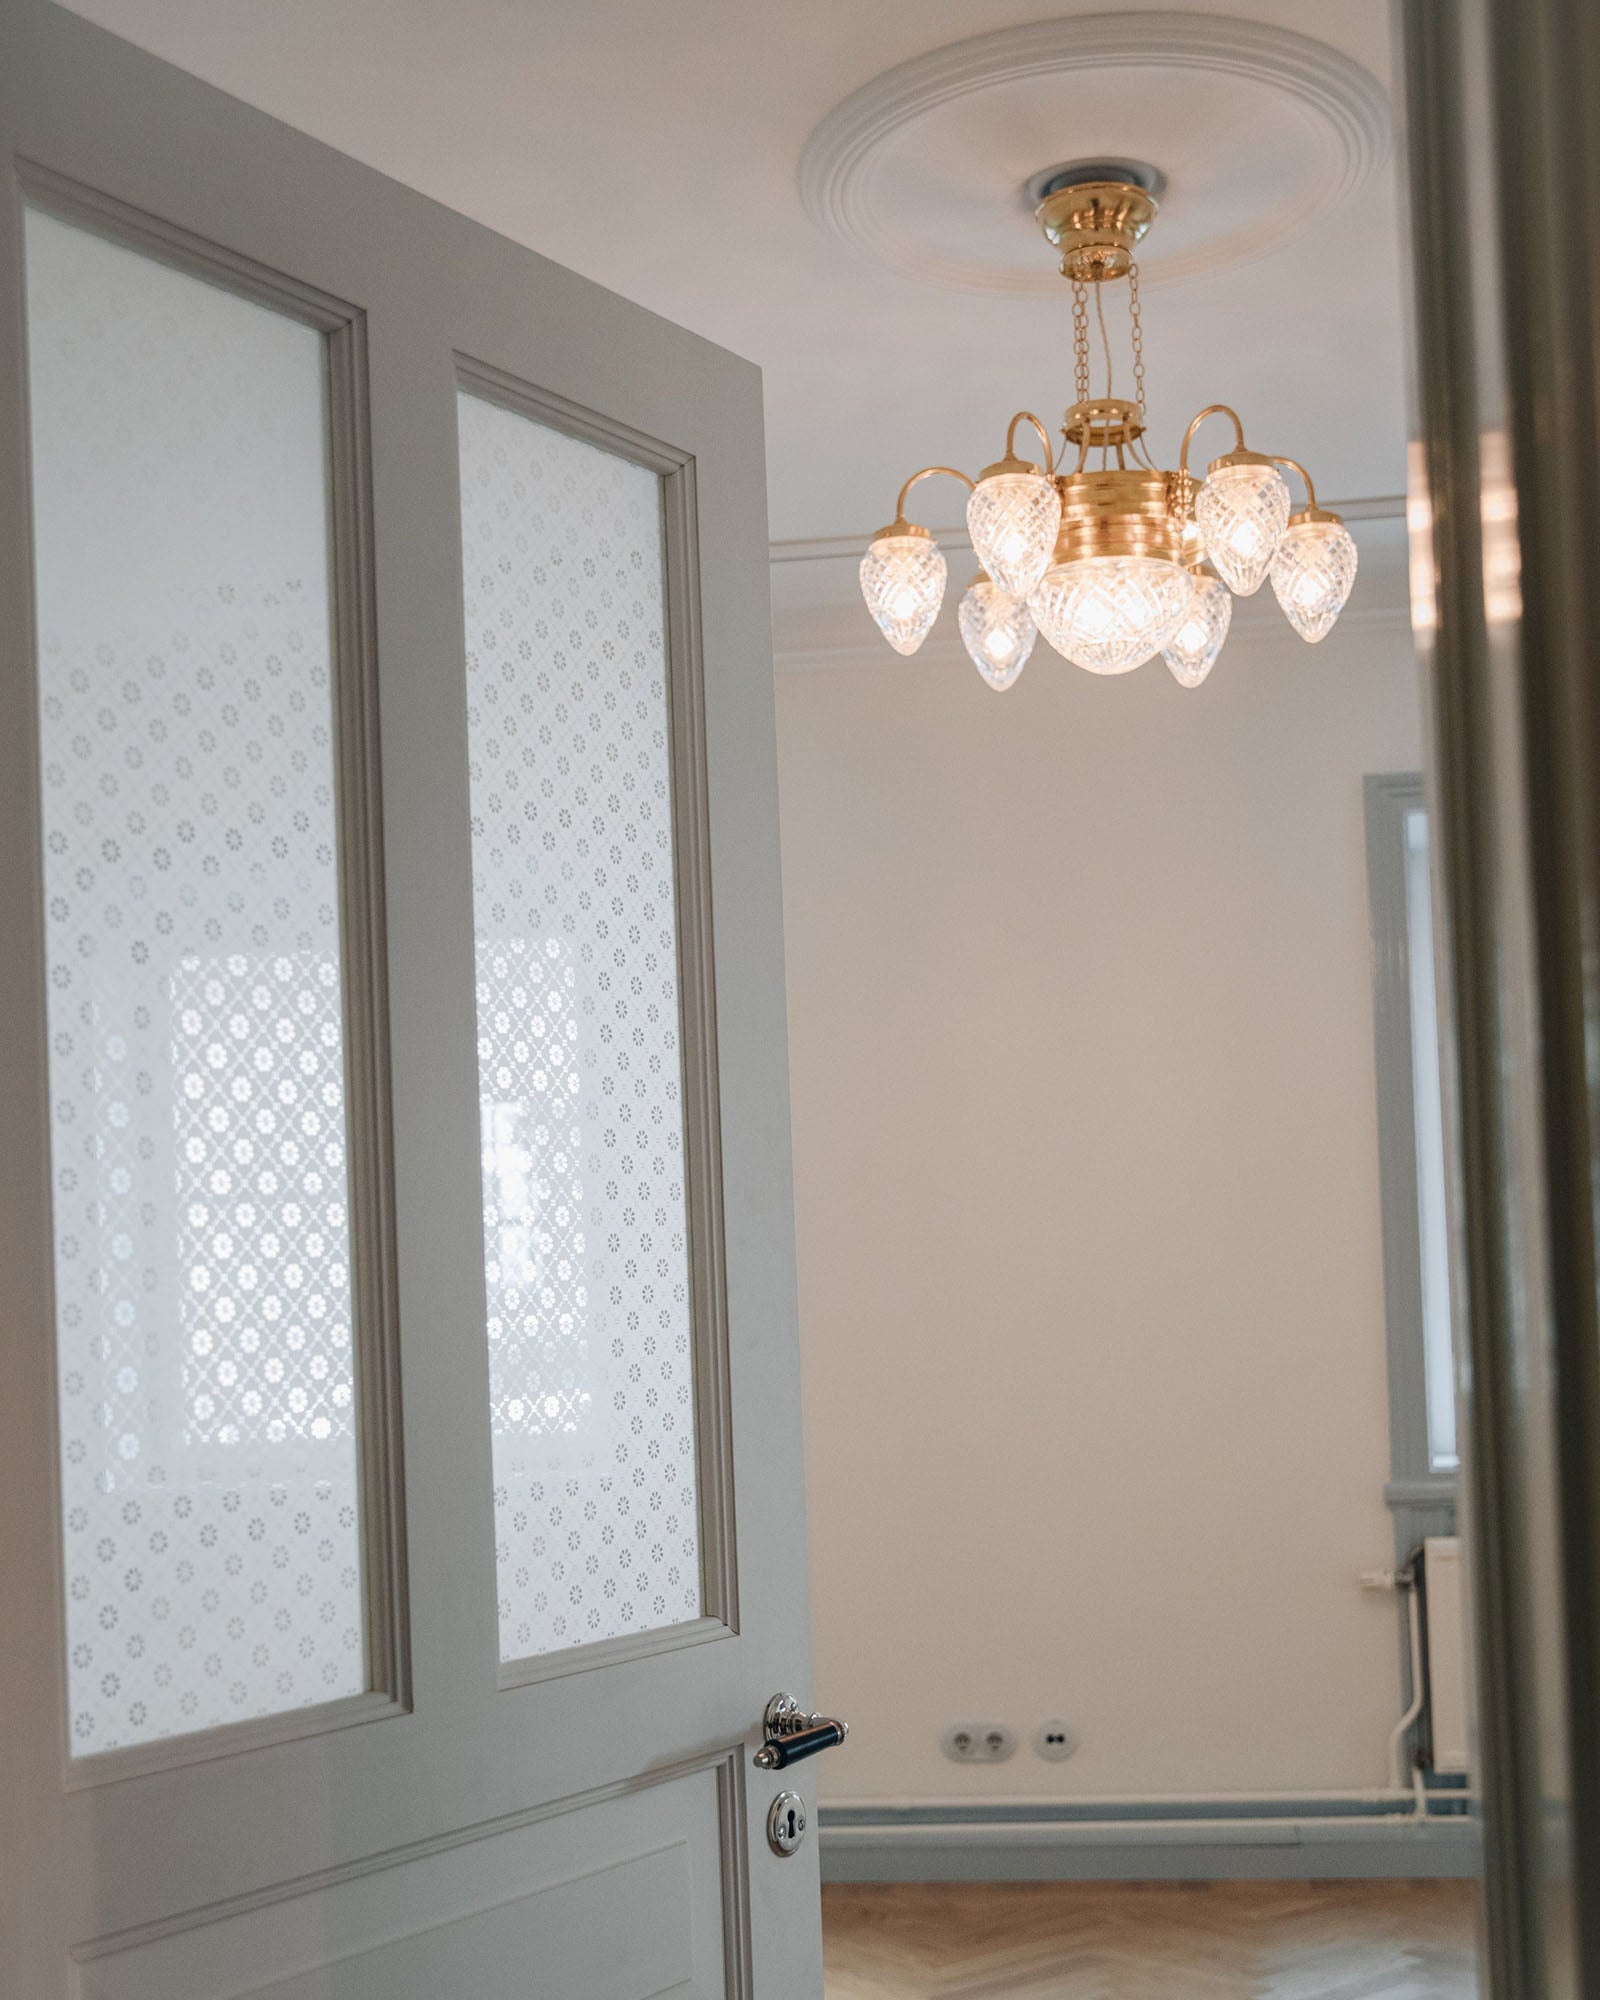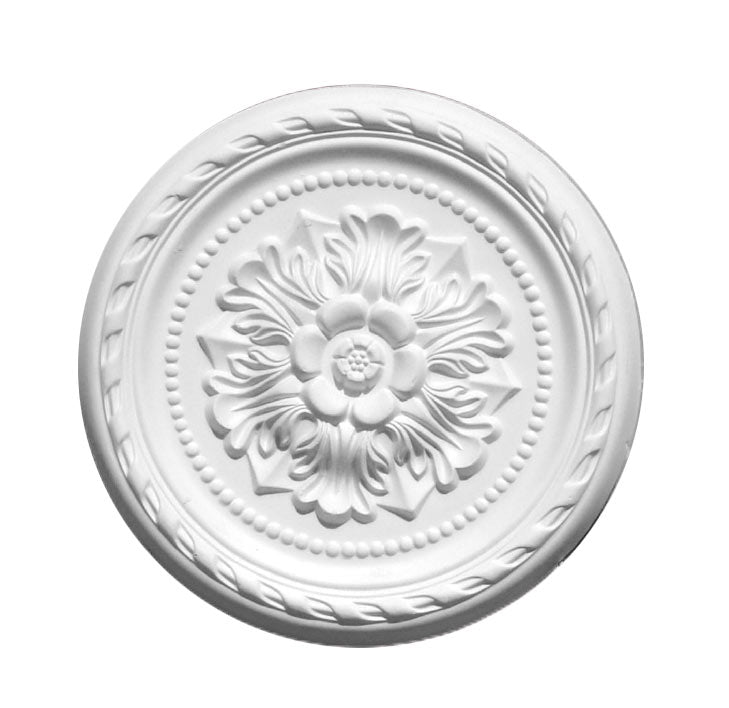


Installation Instructions for Gypsum Ceiling Mouldings (Stuccos)
NOTE: Attach the ceiling mouldings to primed walls before painting the mouldings themselves.
Installing our gypsum ceiling mouldings (stucco material) is easy. All that is required is to be meticulous and follow these installation instructions. You can also watch our instructional video that shows step-by-step how to install our gypsum mouldings. Whether the mouldings need to be screwed in or not depends on their weight. A good rule of thumb is to always screw them in if you are unsure.
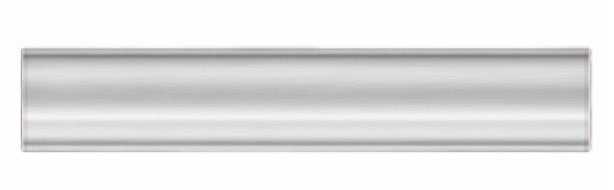
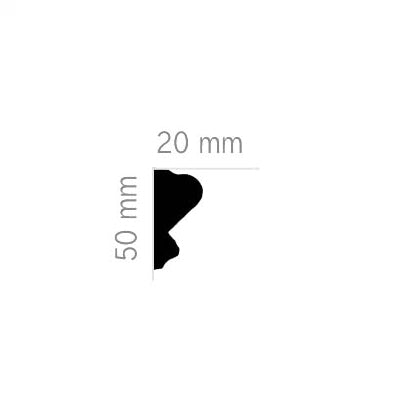
1. Check the height of the chosen ceiling moulding.
2. Measure and draw a horizontal line on the wall (installation line), for example, using a chalk line, showing how far down the moulding will go. Be sure to check which part of the moulding should be against the wall and which part should be against the ceiling.
3. Attach two support blocks on the installation line to help hold the moulding in place. If the moulding is lighter, nails will suffice.
4. Measure on the ceiling moulding where the corner should be cut.
5. Place the moulding in a miter box and cut it at a 45º angle with a handsaw. Start from the corner edge of the moulding and finish at the mark. Pre-drill two holes in the moulding if it is heavy.
6. To glue the moulding in place, use SEMIN CE 78 joint compound. The consistency of the compound (glue) should be thick and plastic-like. Apply the compound to the contact surfaces that will adhere to the ceiling and wall.
7. Press the moulding firmly against the wall and ceiling so that the compound seeps in between the wall, ceiling, and moulding. If the moulding is heavy, screw in the screws in the pre-drilled holes and remove the support blocks.
8. Collect excess compound with a putty knife and fill the screw holes and any gaps in the compound.
9. Cut the second corner moulding to the same measurements and procedure as above.
10. Brush off dust from the ends of the ceiling mouldings with a brush and water.
11. Glue all the edges (contact surfaces) of the second corner piece and attach it using the same method as the first corner piece. Make sure the mouldings are at the same height. Be meticulous when joining the mouldings and fill the joint and screw holes with compound.
12. Wipe away any excess compound with a sponge moistened with water. Allow the joint compound to dry.
13. After drying, sand first with 100-grit sandpaper and then with 150-grit sandpaper.
14. Prime the entire ceiling moulding.
15. Finish painting the moulding by hand with a brush or with spray paint.